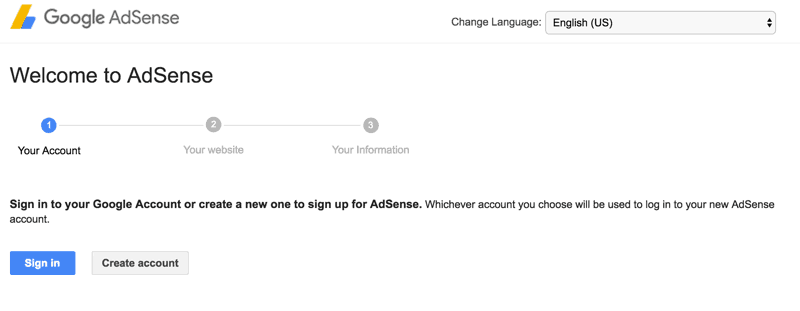
When it comes to making money from a blog, AdSense is one of the best blog monetization programs available.
Creating an AdSense account and getting approval is not a particularly easy process, especially for a newbie blogger. The real problem emerges when Google bans your AdSense account!
A good solution is to start looking for some of the best Google AdSense alternatives.


Creating an AdSense account and getting approval is not a particularly easy process, especially for a newbie blogger. The real problem emerges when Google bans your AdSense account!
A good solution is to start looking for some of the best Google AdSense alternatives.

The AdSense alternative ad networks mentioned below are not necessarily better than Google AdSense, but depending on your blog niche and site’s traffic, a few AdSense alternative programs (like Media.net or Viglink) might give you better earnings and results than AdSense.
You should be aware that Google AdSense is a contextual ad networking program while a few of the AdSense alternatives mentioned below are not contextual ad programs. For example, BuySellAds offers a direct advertisement platform, Infolinks is an in-text linkprogram, and Viglink turns your outbound links into affiliate links.
Getting Google AdSense approval is a dream for bloggers. But if you fail to get approval or get rejected for some reason, don’t despair, because this article will make you aware of many Google AdSense alternatives for you to use to earn money online.
(Before choosing an alternative to Google AdSense, however, check out what kind of traffic you are generating on your blog.)
Best Alternative to Adsense: 2016 Edition
Note: I am continually updating this list with all the new monetization methods that I use as an AdSense alternative. So bookmark this page and keep coming back to learn about more new blog monetization programs.
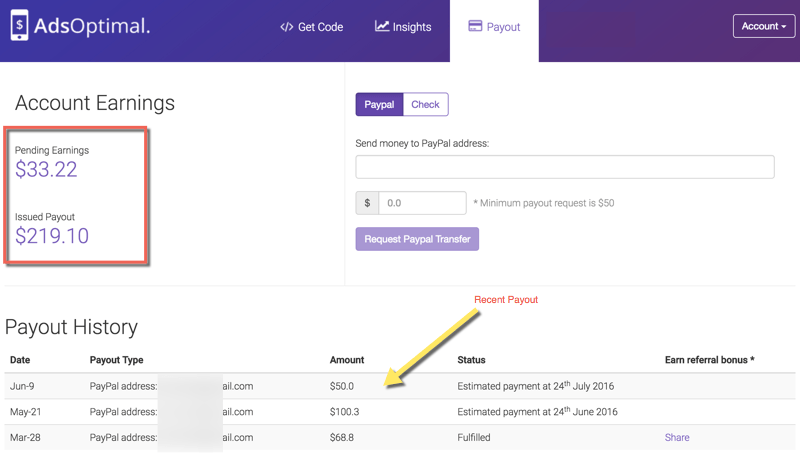
Many of you might not have heard of AdsOptimal but you should. This ad network is online since 2013 & quite popular among bloggers for AdSense alternative. One of the most common complaint among bloggers are, other alternatives doesn’t pay as good as AdSense.
With AdsOptimal you don’t need to worry about that as the ads they show is of high quality & if you have a blog with good traffic, you would end up minting great money from your blog. Getting started is easy & if you have a premium blog, you will get additional $5 for integrating the ad on those site.
I added all of my blogs & claimed additional bonus. Easy money! You should signup & implement AdsOptimal before this extra signup bonus is gone.
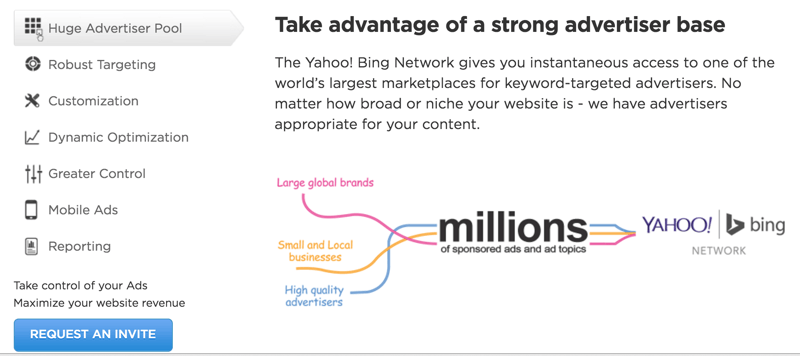
Media.net is the best alternative to AdSense in terms of ad types.
Media.net is a contextual ad network by Yahoo! and Bing, and it offers high-paying ads. Moreover, the ad types involved are similar to AdSense, and if you have a quality blog, you are more likely to get Media.net approval in no time.
Create a free Media.net account here.
Seeing an Amazon advertisement program listed as an “AdSense alternative” might be little surprising for many, but in 2016 they are one of the most popular choices among bloggers for site monetization.
Until recently, it was only the Amazon Affiliate program, but with Amazon Native Shopping Ads & CPM based ads, they are a great choice for users who are looking for something other than AdSense.
In my opinion, the Amazon display program is ideal for those who have US & EU traffic. Native Ads in particular is a bit like affiliate marketing on steroids.

Infolinks is an in-text link ad network that has been a profitable blog monetization network for many publishers.
Infolinks offers various types of advertisements that you can place on your blog, but the most popular one is an in-text ad unit, followed closely by an in-frame ad unit.
It does not offer contextual ads like Google AdSense, but as an alternative to AdSense, Infolinks is highly recommended.
You can use other ad networks with it to increase your blog’s revenue.
Signing up for Infolinks is easy, and they have a low minimum payment threshold.
Adversal offers features similar to Superlinks, but you need to have monthly page-views of 50,000 to apply.
Minimum payout is $20, and after 35 days, you get paid at the end of the month.
Payment modes are PayPal, wire transfer, and ACH. It takes 3-4 days to get your application approved.
I suggest that you apply for both Superlinks and Adversal. Superlinks ads will pay more, but it is also good to have another alternative option.
Chitika is a CPC product-oriented program.
I like Chitika for two reasons:
- It always places relevant ads based on your site’s content (which helps you to get more clicks).
- You can edit text color, URL color, and border color so your ads blend in with your blog’s format.
You can also use their referral program to earn extra income.
Viglink is perfect for a blog which is linking out to a business or e-commerce site.
The Viglink concept is quite different from all of the alternatives mentioned above because with Viglink you earn money by making affiliate sales.
Viglink works great when you have outgoing links to business or product pages such as a fashion store or Amazon.
Even if you don’t have outbound links but you are using money-related terms like Apple, iPhone, etc., Viglink will automatically add links to these words, and you will end up making pretty decent money.
What’s best about Viglink is that it’s incubated by Google and is a very SEO-friendly ad program.
Skimlinks is the best alternative to Viglink and it works in a similar manner. Skimlinks converts your outbound links into affiliate links, and you earn money whenever a sale occurs.
It is possible that you could end up making ten times your existing earnings with Viglink and Skimlinks, as they pay for affiliate sales and not for clicks.
These are just some of the best and most popular alternatives to AdSense.
If your AdSense account is disabled, the best way to cover the lost AdsSense earnings potential is by using a combination of two or more ad networks. (For example: using Infolinks or Viglink along with contextual ads.)
Which one of the above methods have you used and which ad program worked the best? Tell us in the comments!


 | Kaur B | Latest Punjabi Song 2016 | Speed Records")

")
